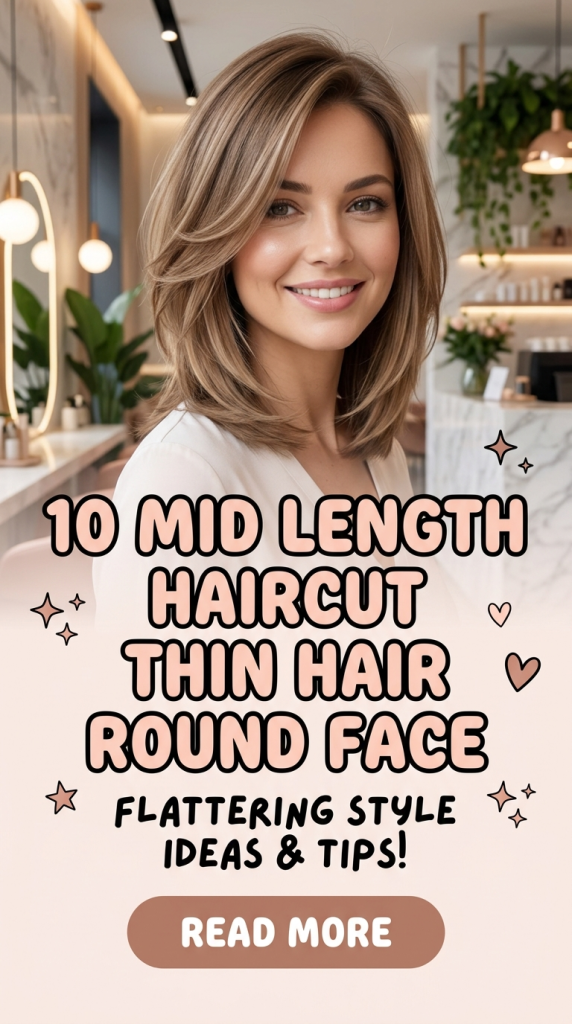
Mid length haircut ideas for thin hair and a round face focus on creating balance by adding height, controlling width, and introducing structured layers that guide the eye vertically. This topic is widely shared across Pinterest ideas because it offers practical solutions for two common styling concerns: lack of volume and softer facial contours. Thin hair often appears flat, while a round face shape benefits from elongating elements.
A mid length haircut provides the ideal foundation because it maintains enough length to avoid widening the face while allowing layering techniques to enhance fullness. This article explains ten carefully structured haircut ideas that combine these principles.
Readers will learn how to shape the hair, where to place layers, and how to use parting techniques to improve proportions. Each idea includes clear, step by step guidance to ensure accurate execution. These haircut concepts are useful because they are beginner friendly, adaptable, and designed to create a clean, modern, and aesthetic appearance.
Why This Idea Is Trending or Useful
Mid length haircuts designed for thin hair and round faces are trending because they provide targeted improvements using simple and effective techniques. Pinterest ideas highlight how proper length and layering can visually elongate the face while increasing the appearance of hair density. The practical value lies in achieving two results simultaneously: reducing facial width and enhancing hair volume. These styles align with modern design preferences that emphasize clean lines, soft movement, and controlled structure. The DIY appeal makes these haircut ideas accessible, as they can be maintained with basic tools and straightforward styling routines. This makes them beginner friendly and suitable for everyday use. These haircuts also support a variety of aesthetic directions, from minimalist style to softly textured looks. The structured approach ensures that each design remains balanced and manageable. This combination of functionality, accessibility, and visual improvement explains why these haircut ideas continue to gain popularity.
Materials and Preparation
Preparing for a mid length haircut for thin hair and a round face requires attention to sectioning, length planning, and layering strategy. Common tools include sharp scissors, a comb, sectioning clips, and a mirror for clear visibility. Additional tools such as a blow dryer and round brush help create volume after cutting. Preparation begins with clean, slightly damp hair to ensure better control during the cutting process. Sectioning is essential to maintain precision, and the hair should be divided into top, sides, and back sections. Planning the length is important, with the ideal range between the chin and shoulders to maintain balance. Deciding on layer placement helps control volume distribution, with layers starting below the chin to avoid adding width at the cheeks. Cutting should be done gradually to maintain accuracy. Testing small sections ensures consistency. A clean workspace improves efficiency and reduces errors. This preparation stage supports a structured and effective haircut process.
Idea 1: Layered Lob with Side Part
How to Create
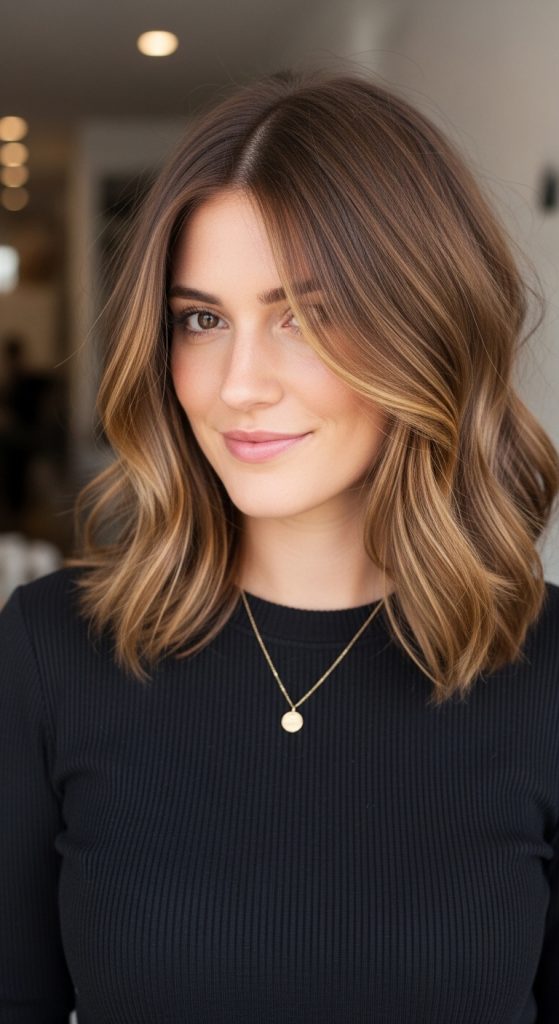
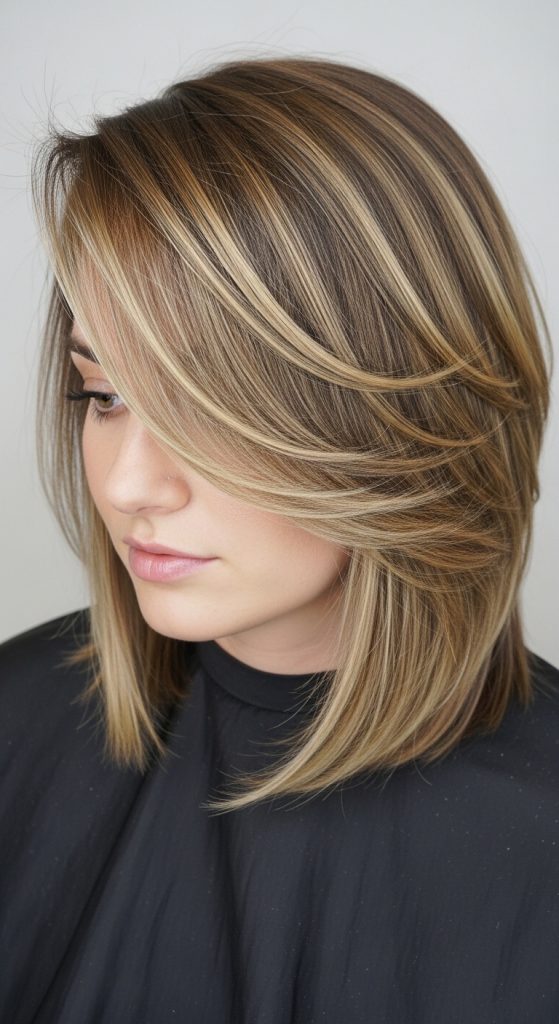
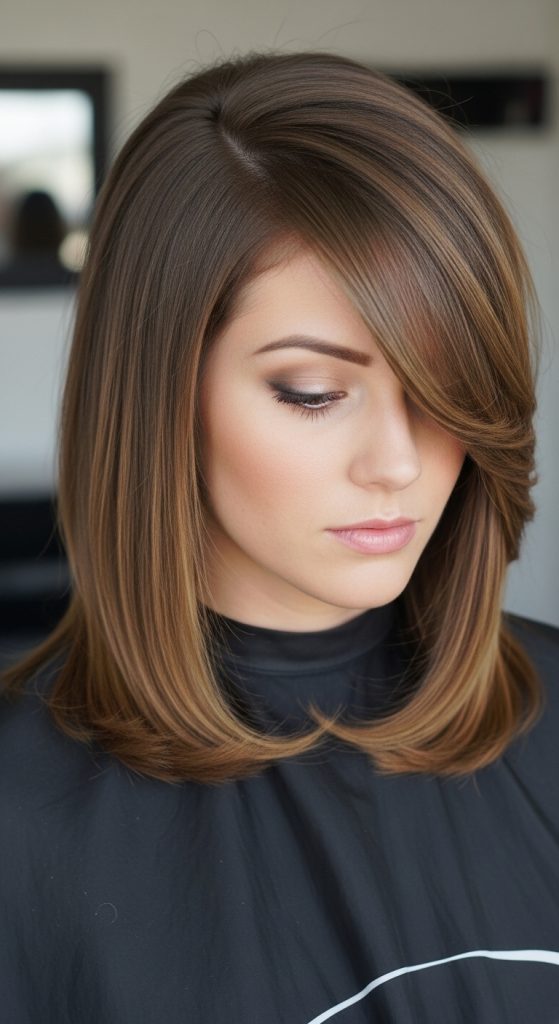
The layered lob with a side part is designed to create asymmetry and vertical movement, which helps elongate a round face while adding volume to thin hair. The lob length ensures that the hair falls below the chin, preventing it from widening the face. The layers are placed strategically to create lift without reducing density. The side part shifts the visual focus away from the center, creating a more elongated appearance. This concept aligns with Pinterest ideas because it combines simplicity with effective shaping. The overall structure remains clean and organized, making it suitable for both casual and formal settings. The layering is subtle and controlled, ensuring that the hair retains fullness while gaining movement.
To create this haircut, begin by cutting the base length at shoulder level. Create a deep side part to introduce asymmetry. Add light layers starting below the chin, ensuring smooth transitions between sections. Blend the layers carefully to maintain balance. Style using a round brush to lift the roots on the heavier side. This step by step method produces a structured and fuller look.
Idea 2: Blunt Cut with Volume Crown
How to Make
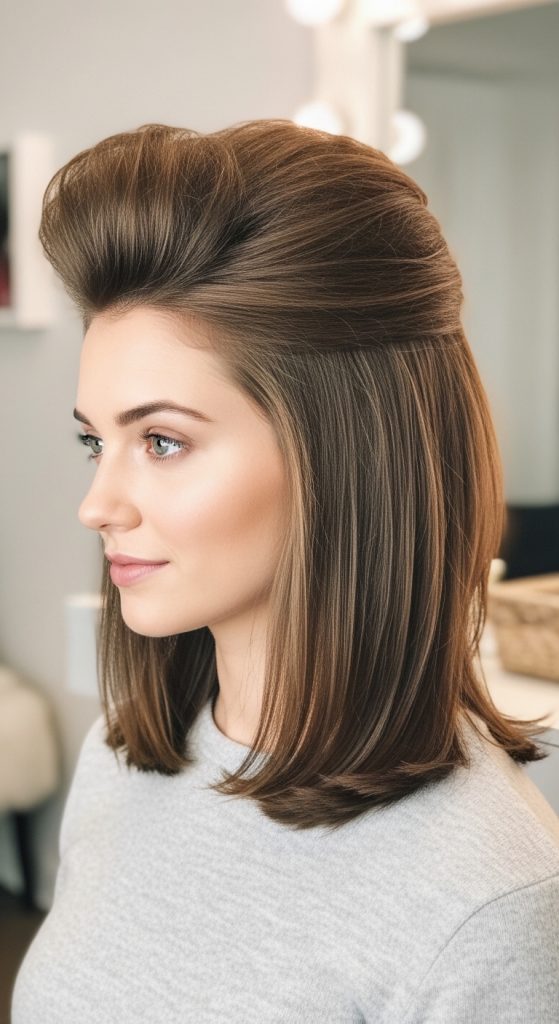
This haircut focuses on maintaining thickness at the ends while adding volume at the crown to create height. The blunt cut ensures density, while the lifted crown elongates the face.
To achieve this, cut the hair evenly at mid length. Add subtle layers only at the crown area. Style using a blow dryer and round brush to lift the roots. Keep the sides smooth to avoid extra width. This execution process creates a balanced hairstyle.
Idea 3: Shoulder-Length Layers with Curtain Bangs
Step-by-Step Guide
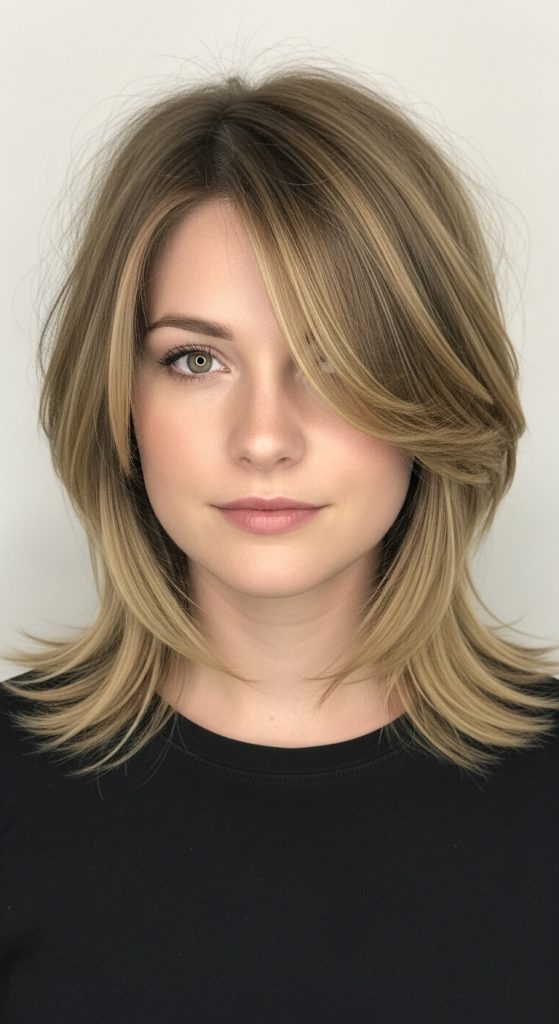
This style combines soft layers with curtain bangs to create vertical framing. The bangs open outward, reducing emphasis on the cheeks.
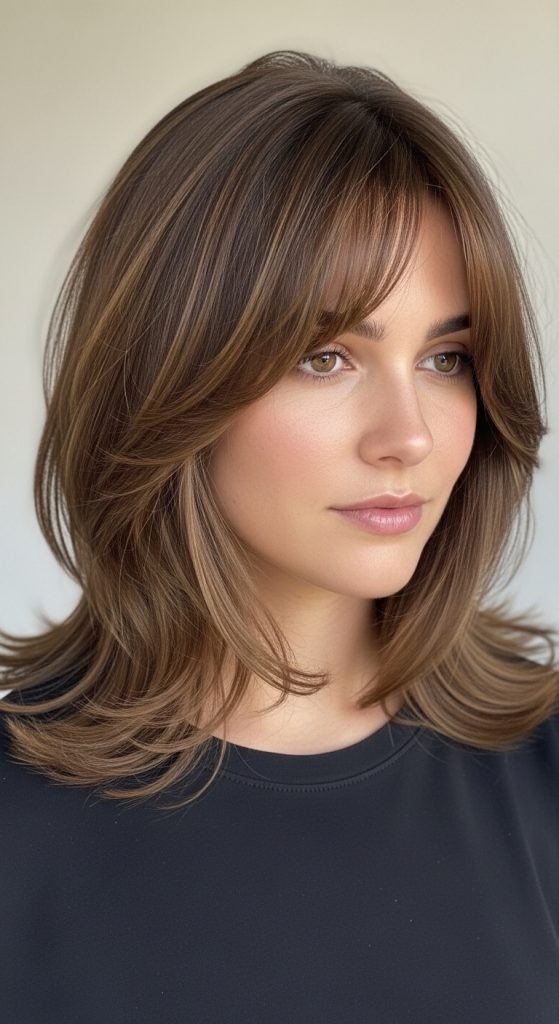
To create this, cut layers starting below the chin. Add curtain bangs that blend into the front layers. Style the bangs using a round brush for separation. This method produces a balanced look.
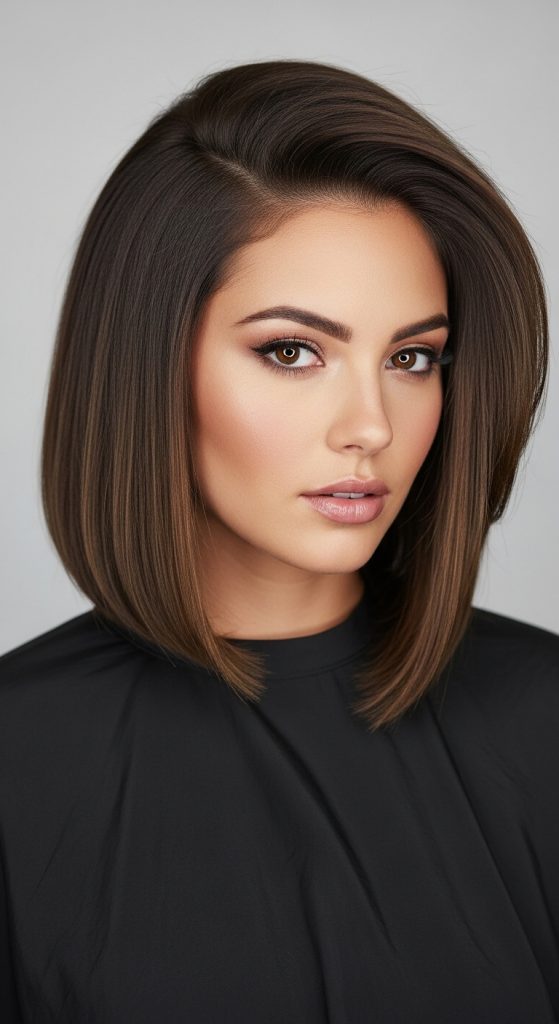
Idea 4: Angled Lob with Longer Front
Execution Process
The angled lob creates a forward direction, with longer front sections that elongate the face. The shorter back adds structure.
To achieve this, cut the back slightly shorter and gradually increase length toward the front. Blend all sections smoothly. Style straight to highlight the angle. This process creates a defined appearance.
Idea 5: Soft Waves with Side Layers
How to Create
Soft waves combined with side layers create movement and vertical flow. The waves help add volume to thin hair.
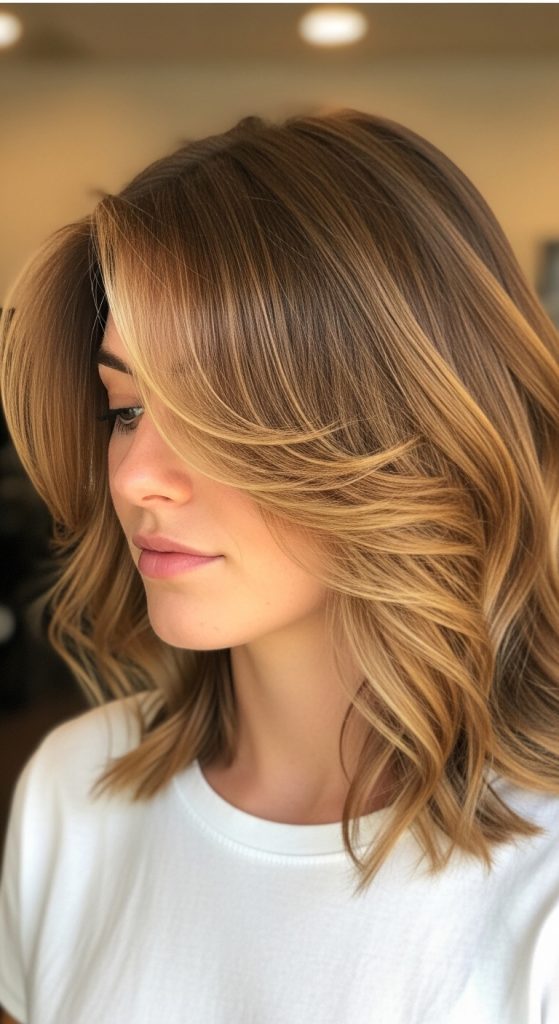
To create this, cut layers below the chin and style using a curling tool. Direct the waves away from the face. This method produces a balanced and dynamic hairstyle.
Idea 6: Straight Lob with Minimal Layers
Step-by-Step Guide
This haircut focuses on maintaining thickness while introducing slight layering for movement. The straight structure creates vertical emphasis.
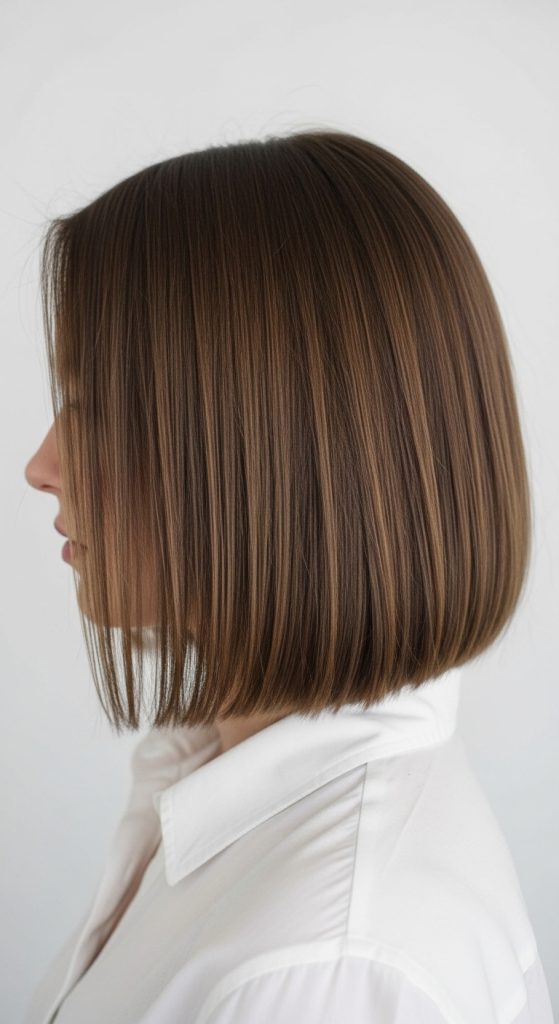
To achieve this, cut the hair evenly at mid length and add minimal layers at the ends. Style straight for clarity. This approach creates a clean look.
Idea 7: Layered Shag with Controlled Texture
How to Make
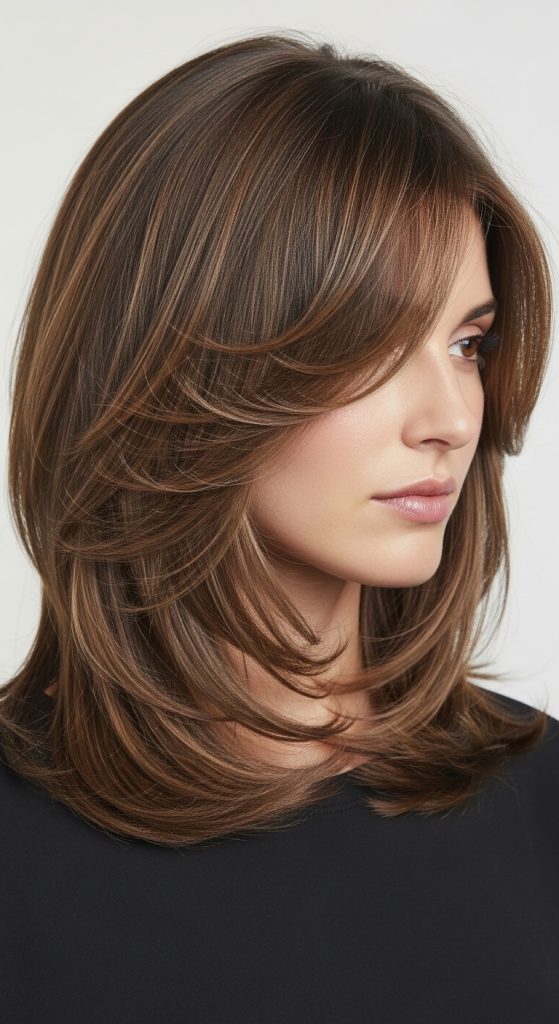
The layered shag introduces texture while maintaining control to avoid excess width. The layers create movement and lift.
To create this, cut multiple layers throughout the hair, keeping the sides controlled. Style using a blow dryer to enhance texture. This method produces a structured hairstyle.
Idea 8: Mid Length Cut with Deep Side Part
Setup Method
This style uses a deep side part to create asymmetry and volume. The parting shifts focus and enhances elongation.
To create this, cut the hair at mid length and establish a deep side part. Style to lift the roots on one side. This method creates a balanced look.
Idea 9: Voluminous Crown with Smooth Length
How to Create
This haircut emphasizes height at the crown while keeping the length smooth. The lifted crown elongates the face.
To achieve this, add layers at the top section and keep the lower sections straight. Style using a round brush to lift the roots. This process creates a refined look.
Idea 10: Layered Ends with Face-Framing Pieces
Execution Process
This style focuses on adding layers at the ends while incorporating face-framing sections that start below the chin.
To create this, cut the base length and add light layers at the ends. Shape the front sections to frame the face. Blend all sections smoothly. This method produces a balanced hairstyle.
Common Beginner Mistakes and How to Avoid Them
A common mistake is adding volume at the sides, which increases facial width. Keeping layers below the chin prevents this issue. Another mistake is cutting the hair too short, which reduces elongation. Choosing the correct length improves balance. Poor blending can create uneven sections, so smooth transitions are essential.
Practical Tips for Better Results
Work in small sections for accuracy. Use consistent angles when cutting layers. Style the hair after cutting to check balance. Focus on root volume rather than side volume. These steps improve overall results.
Styling, Presentation, or Organization Ideas
Use side parts to create asymmetry. Keep the sides smooth and controlled. Add volume at the crown for height. These methods enhance presentation.
Budget or Time Planning
Use basic tools to reduce costs. Plan the haircut before starting. Work gradually to maintain accuracy. This ensures efficient execution.
Creative Expansion and Advanced Inspiration
Combine layering with soft waves for added texture. Experiment with parting styles. Explore different layering intensities to enhance movement. These ideas support advanced creativity.