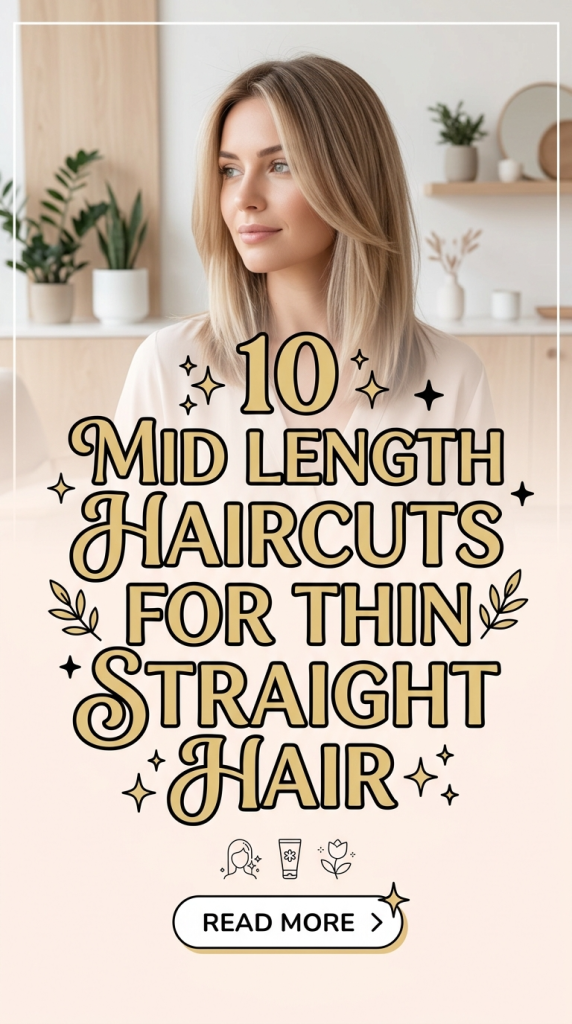
Mid length haircut ideas for thin straight hair are widely shared across Pinterest ideas because they provide structured solutions for creating volume, movement, and balance without compromising natural texture. Thin straight hair often appears flat due to its smooth surface and lack of density, so the right haircut focuses on layering, shape, and length placement to improve overall appearance.
A mid length haircut, typically between the chin and shoulders, offers enough structure to maintain fullness while remaining manageable. This article explains ten practical haircut ideas specifically designed for thin straight hair, using clear definitions and step by step methods. Readers will learn how each haircut enhances volume, how to prepare for the cut, and how to maintain the style effectively. These ideas are useful because they provide beginner friendly solutions that can be adapted to different preferences while maintaining a clean and aesthetic result. The goal is to present organized and actionable guidance that helps transform thin straight hair into a fuller and more structured look.
Why This Idea Is Trending or Useful
Mid length haircuts for thin straight hair are trending because they address a common styling challenge with practical and visually effective solutions. Pinterest ideas highlight how proper length and layering can create the illusion of thickness without requiring excessive styling. The practical value lies in maintaining balance between structure and movement, as overly long hair can appear flat while very short styles may lack versatility. Mid length cuts provide a controlled framework that supports layering and volume. These haircut ideas align with modern design trends that emphasize clean lines, natural flow, and minimalist style. The DIY appeal comes from the ability to maintain and style these cuts using simple tools and repeatable techniques. This makes them beginner friendly and suitable for everyday routines. These styles also adapt easily to different occasions, from casual settings to formal events. The combination of accessibility, adaptability, and aesthetic improvement explains their popularity.
Materials and Preparation
Preparing for a mid length haircut for thin straight hair requires attention to detail and proper organization. Common tools include sharp scissors, a comb, sectioning clips, and a mirror for clear visibility. Additional tools such as a blow dryer and round brush help enhance volume after cutting. Preparation begins with clean, slightly damp hair to improve control and accuracy. Sectioning is essential to ensure even distribution, and the hair should be divided into top, sides, and back sections. Planning the length is important to maintain balance, with the ideal range between the chin and shoulders. Deciding on layering intensity helps determine how much volume will be created. Light layers add subtle movement, while structured layers increase lift. Cutting should be done gradually to avoid removing too much length at once. Testing small sections ensures consistency. A clean and organized workspace improves efficiency and reduces errors. This preparation stage supports a structured and effective haircut process.
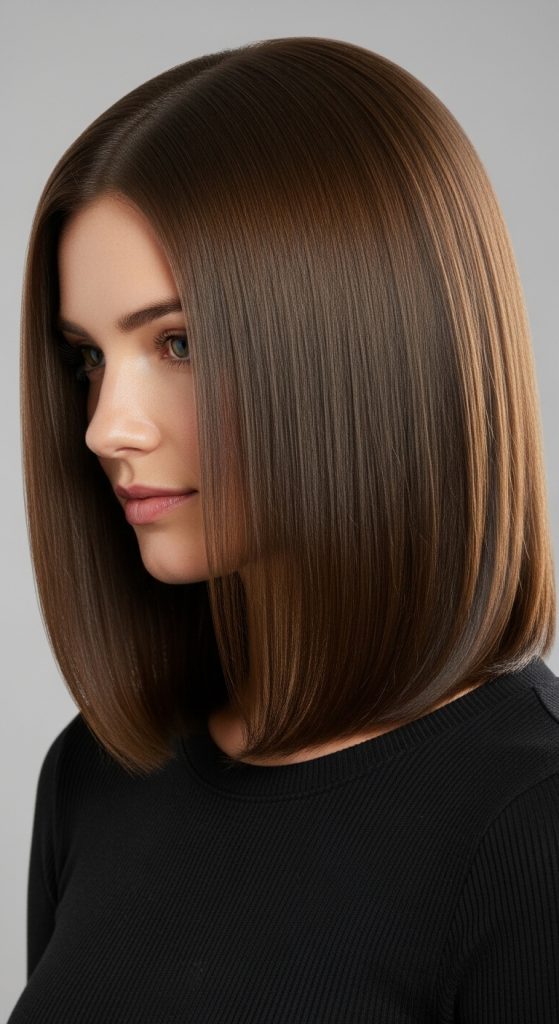
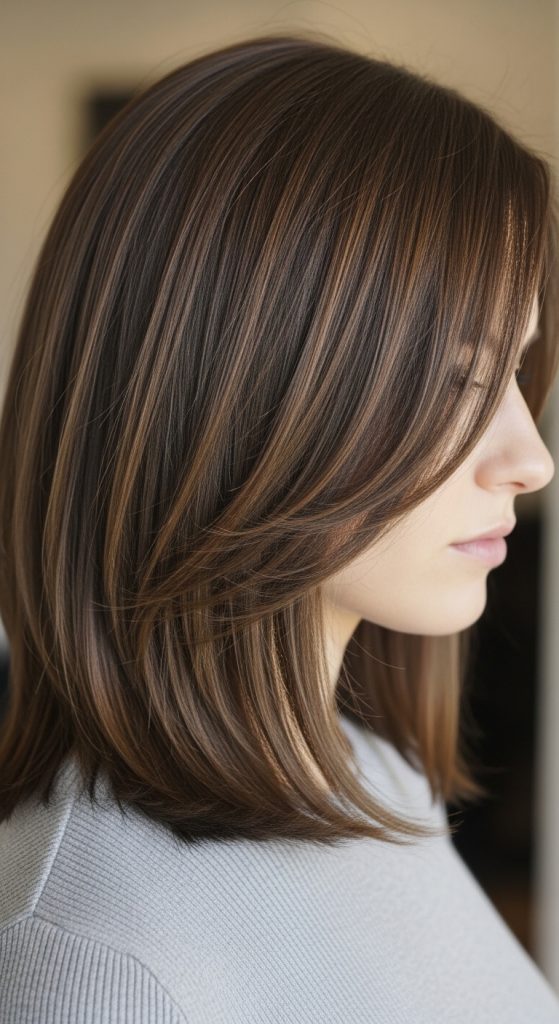
Idea 1: Blunt Lob with Clean Edges
How to Create
The blunt lob with clean edges focuses on creating the illusion of thickness by maintaining a solid, even base. Thin straight hair benefits from this structure because it prevents the ends from appearing sparse. The blunt cut ensures that all strands align at the same length, which visually increases density. This concept is widely used in Pinterest ideas because it offers a clean and modern aesthetic with minimal complexity. The lack of heavy layering helps preserve the natural weight of the hair, making it appear fuller. This haircut works particularly well for straight textures, as it highlights the smooth finish and precise edges. The overall structure is simple yet effective, providing a polished and organized appearance suitable for everyday styling.
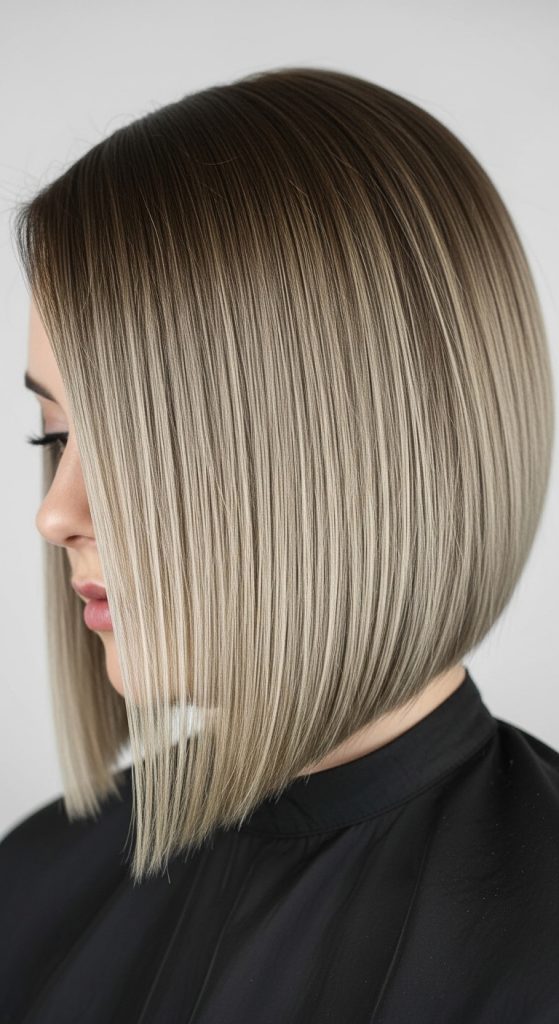
To create this haircut, begin by sectioning the hair evenly. Cut the base length straight across at a mid length position, ensuring all sections are aligned. Avoid adding layers to maintain thickness. Use a fine comb to check for evenness across the ends. Style using a blow dryer for a smooth finish. This step by step method ensures a clean and dense-looking result.
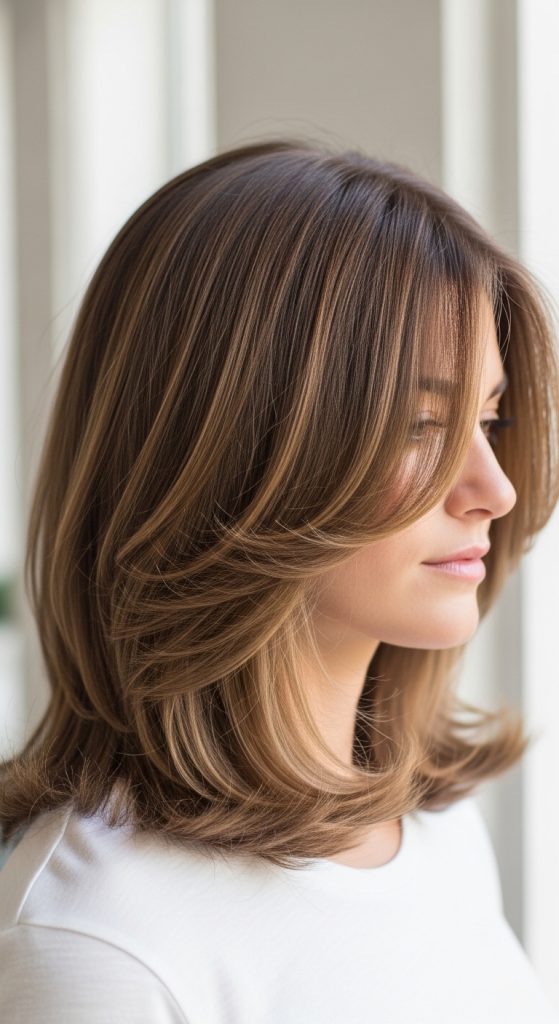
Idea 2: Soft Layered Lob for Movement
How to Make
The soft layered lob introduces light layers to add movement without reducing overall thickness. This design balances structure with subtle texture, making it ideal for thin straight hair.
To achieve this, cut the base length first, then add soft layers starting from the mid-length. Blend the layers carefully to avoid sharp transitions. Style using a round brush to enhance movement. This execution process creates a balanced and natural look.
Idea 3: Shoulder-Length Cut with Side Part
Step-by-Step Guide
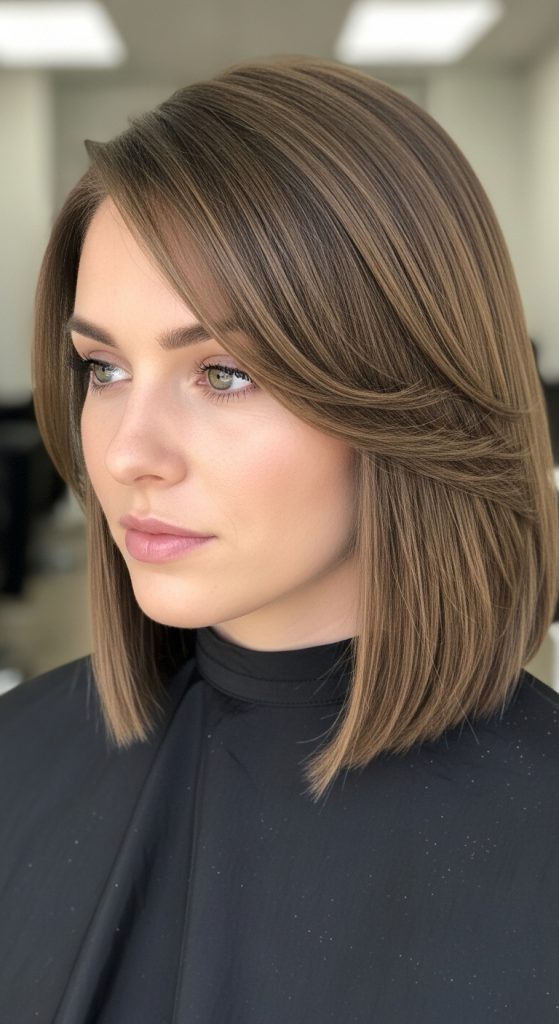
This haircut uses a side part to create asymmetry and lift, making the hair appear fuller. The shoulder-length structure provides balance and manageability.
To create this, cut the hair evenly at shoulder length. Create a deep side part to shift volume. Style using a blow dryer to add lift at the roots. This method produces a fuller appearance.
Idea 4: Straight Cut with Tapered Ends
Execution Process
This style maintains a straight structure while slightly tapering the ends to add softness. The taper prevents heaviness while maintaining density.
To achieve this, cut the hair straight and use a soft cutting technique at the ends. Ensure smooth transitions between sections. Style straight for clarity. This process creates a refined look.
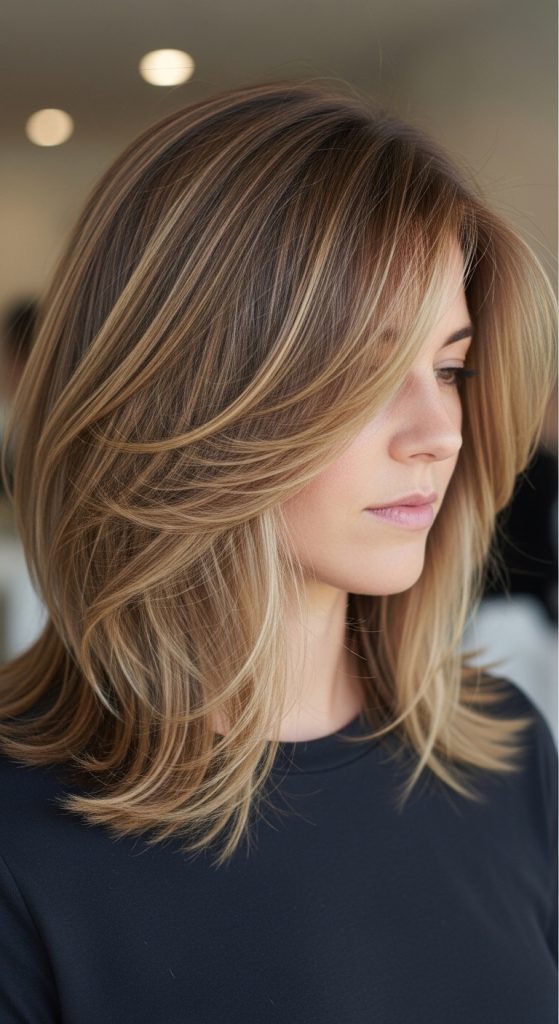
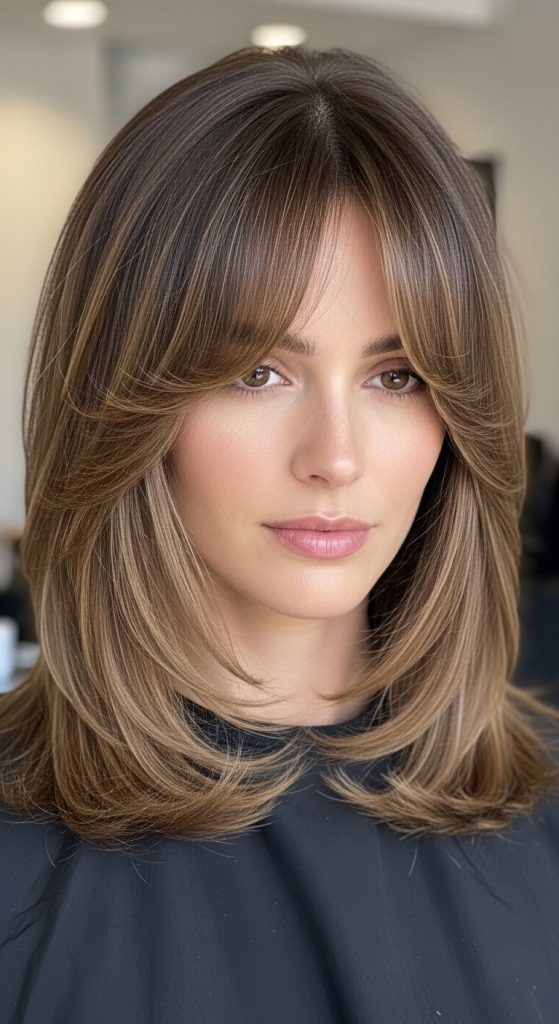
Idea 5: Textured Mid Length Shag
How to Create
The textured shag introduces layers to create dimension and movement. This style adds visual volume to thin straight hair.
To create this, cut layered sections throughout the hair. Keep the layers light to avoid removing too much density. Style using a blow dryer to enhance texture. This method produces a dynamic appearance.
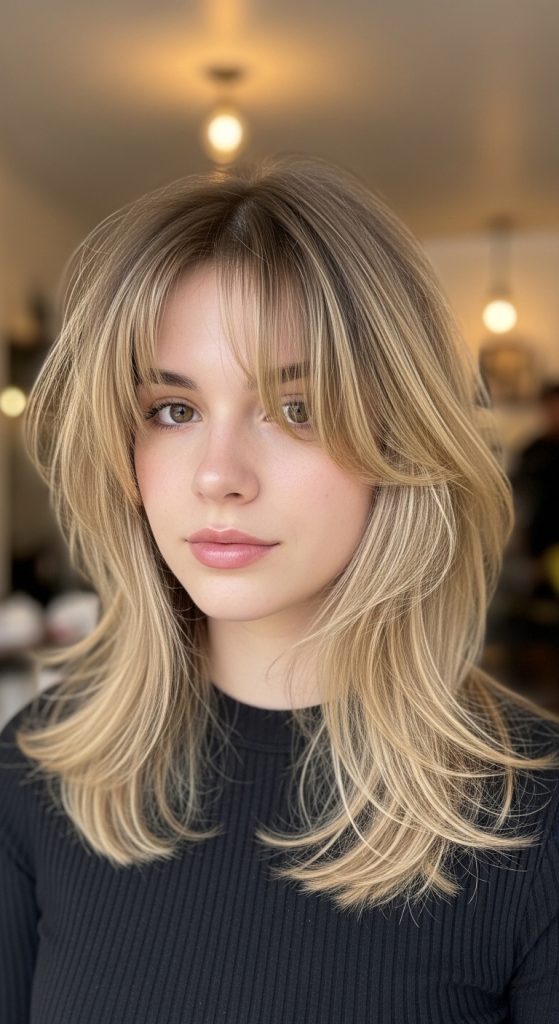
Idea 6: Curtain Bangs with Mid Length Hair
Step-by-Step Guide
This haircut combines curtain bangs with a mid length cut to add volume at the front. The bangs create framing and balance.
To achieve this, cut curtain bangs starting below the cheekbones. Blend them into the front layers. Style using a round brush for separation. This approach creates a structured look.
Idea 7: Angled Lob with Longer Front
How to Make
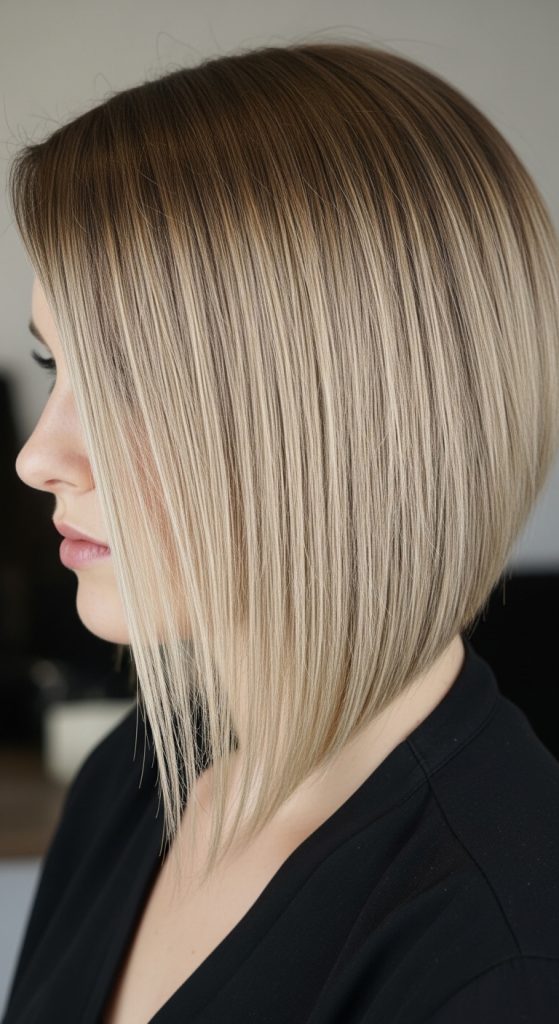
The angled lob uses a shorter back and longer front to create direction and movement. This structure enhances the appearance of fullness.
To create this, cut the back slightly shorter and increase length toward the front. Blend all sections smoothly. Style straight to highlight the angle. This method produces a modern look.
Idea 8: Minimal Layer Cut with Smooth Finish
Setup Method
This style focuses on maintaining thickness while adding minimal layers for slight movement. The smooth finish enhances clarity.
To create this, cut the hair evenly and add light layers at the ends. Style using a blow dryer for a sleek result. This method creates a clean appearance.
Idea 9: Voluminous Crown with Straight Length
How to Create
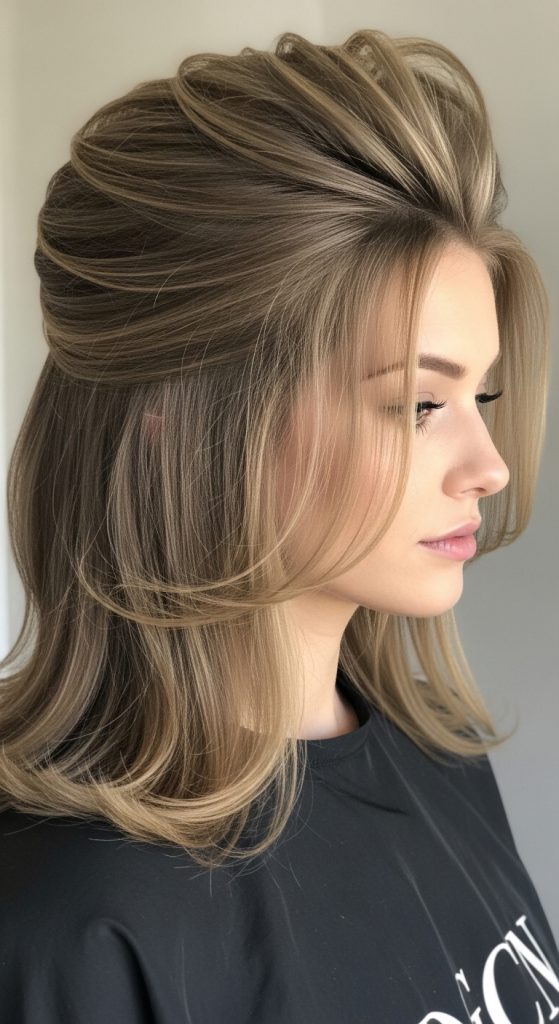
This haircut emphasizes volume at the crown while keeping the length smooth. The lifted roots create the illusion of thicker hair.
To achieve this, add layers at the top section only. Keep the lower sections straight. Style using a round brush to lift the roots. This process creates a balanced hairstyle.
Idea 10: Layered Ends with Mid Length Base
Execution Process
This style focuses on adding layers only at the ends to create movement without reducing density at the top.
To create this, cut the hair at mid length and apply light layering to the ends. Blend carefully to maintain smooth transitions. Style for a natural finish. This method produces a soft and structured look.
Common Beginner Mistakes and How to Avoid Them
A common mistake is adding too many layers, which reduces thickness and makes hair appear thinner. Keeping layers minimal helps maintain density. Another issue is cutting uneven lengths, which disrupts the overall structure. Proper sectioning ensures accuracy. Over-styling can also flatten the hair, so simple techniques are recommended.
Practical Tips for Better Results
Use sharp tools for precise cutting. Work in small sections to maintain control. Style the hair after cutting to check volume. Focus on root lift rather than excessive layering. These steps improve overall results.
Styling, Presentation, or Organization Ideas
Maintain volume at the crown to enhance fullness. Use side parts to create asymmetry. Keep styling simple for a clean and modern appearance. These methods improve presentation.
Budget or Time Planning
Use basic tools to reduce costs. Plan the haircut before starting. Work gradually to avoid mistakes. This ensures efficient execution.
Creative Expansion and Advanced Inspiration
Combine layering with subtle texturing techniques. Experiment with different parting styles. Explore variations in length and structure. These ideas support advanced creativity.