Introduction An October dry erase calendar is a fun and practical way to organize your month while adding a seasonal touch to your home, office, or study space.…
An October dry erase calendar is a fun and practical way to organize your month while adding a seasonal touch to your home, office, or study space. Whether you’re planning Halloween activities, tracking appointments, managing school schedules, or keeping up with daily tasks, a dry erase calendar makes it easy to see everything at a glance. The best part is that you can erase and update your plans whenever something changes.
October is the perfect month to experiment with creative calendar designs. From cozy autumn colors and pumpkin illustrations to spooky Halloween themes and minimalist layouts, there are countless ways to personalize a reusable calendar. You can use colorful dry erase markers, decorative borders, small stickers, and handwritten headings to make your calendar both functional and attractive.
If you enjoy DIY organization projects, these 10 October dry erase calendar ideas will help you create a design that suits your personal style. Whether you prefer a simple monthly planner, a festive Halloween calendar, or a detailed family command center, you’ll find inspiration for making your October schedule more organized and visually appealing.
1. Minimalist October Dry Erase Calendar
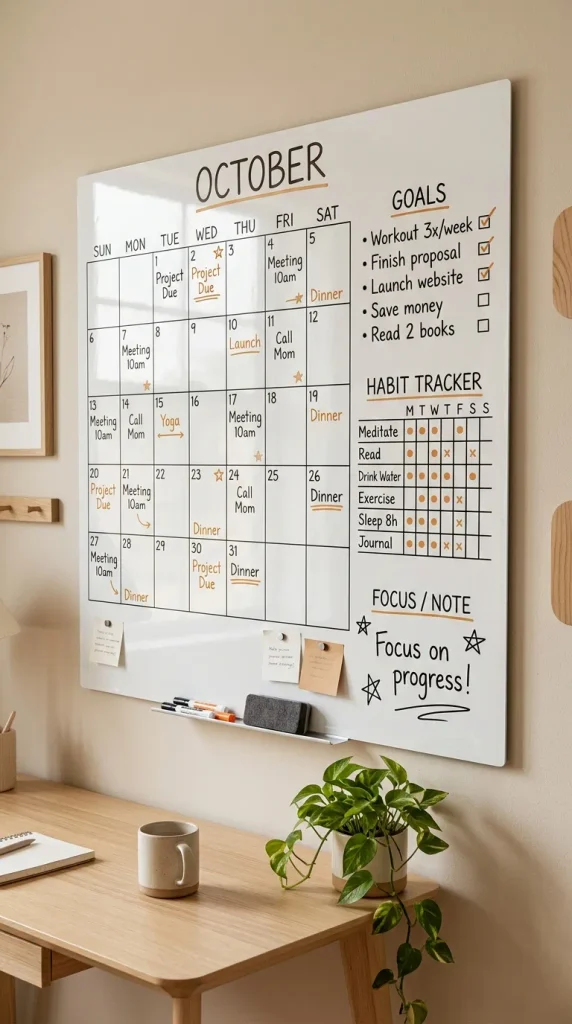
A minimalist October dry erase calendar is ideal for anyone who prefers a clean, uncluttered planning space. Use a white dry erase board with thin black lines to create a traditional monthly grid. Write the days of the week across the top and leave enough room in each square for appointments, reminders, and important events.
Choose black markers for the main calendar structure and use one accent color, such as muted orange or warm brown, to highlight special dates. You can write “October” in simple lettering at the top and add a small pumpkin illustration in one corner for a subtle seasonal detail.
This style works particularly well in home offices, kitchens, and study areas where you need to check your schedule frequently. Because the layout is simple, you can update your plans without worrying about matching complicated decorations.
Materials needed: White dry erase board, black dry erase markers, an orange marker, ruler, and microfiber cloth.
DIY tip: Keep the grid consistent and avoid filling every square with decoration. Leaving plenty of white space makes the calendar easier to read.
2. Pumpkin-Themed October Calendar
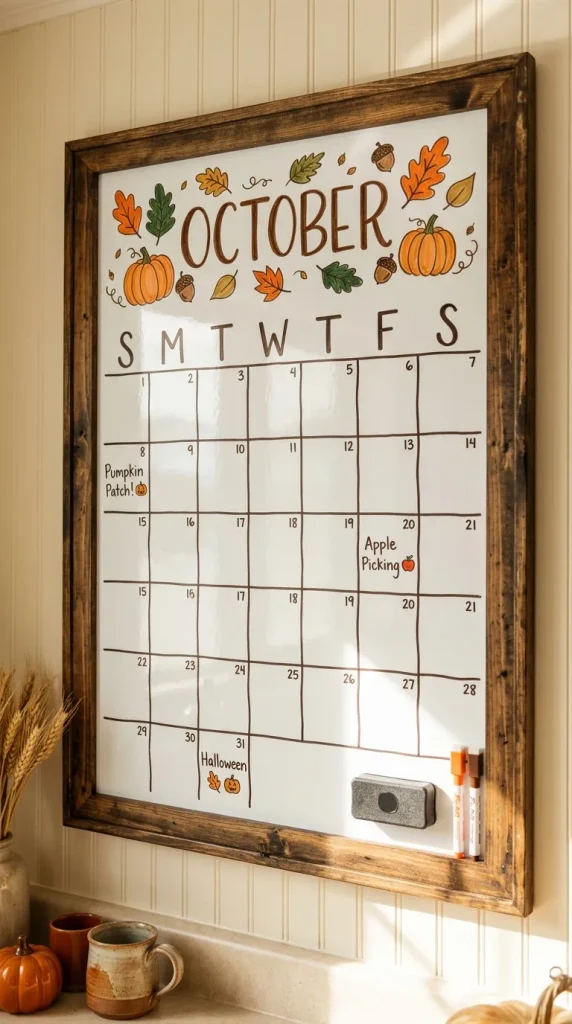
Bring a cozy autumn atmosphere into your home with a pumpkin-themed dry erase calendar. Use orange, brown, cream, and dark green markers to create a warm seasonal design that feels festive without becoming overwhelming.
Start by drawing a monthly grid on your board. Add small pumpkin doodles around the title, along the borders, or beside important dates. You can use different shades of orange to create simple pumpkin shapes and add green leaves for extra detail. If you’re not confident drawing freehand, use pumpkin-shaped reusable magnets around the calendar instead.
Highlight October activities such as pumpkin picking, autumn crafts, family outings, or seasonal baking. Use a different marker color for each category so that your schedule remains easy to understand.
This design looks lovely in a kitchen, family room, or entryway. It also works well for families who want a shared space to record school events, appointments, and weekend plans.
Materials needed: Dry erase board, orange, brown, cream, and green markers, ruler, and microfiber cloth.
DIY tip: Place the pumpkin decorations around the edges rather than inside the calendar squares so you have enough room to write.
3. Halloween Spooky Dry Erase Calendar
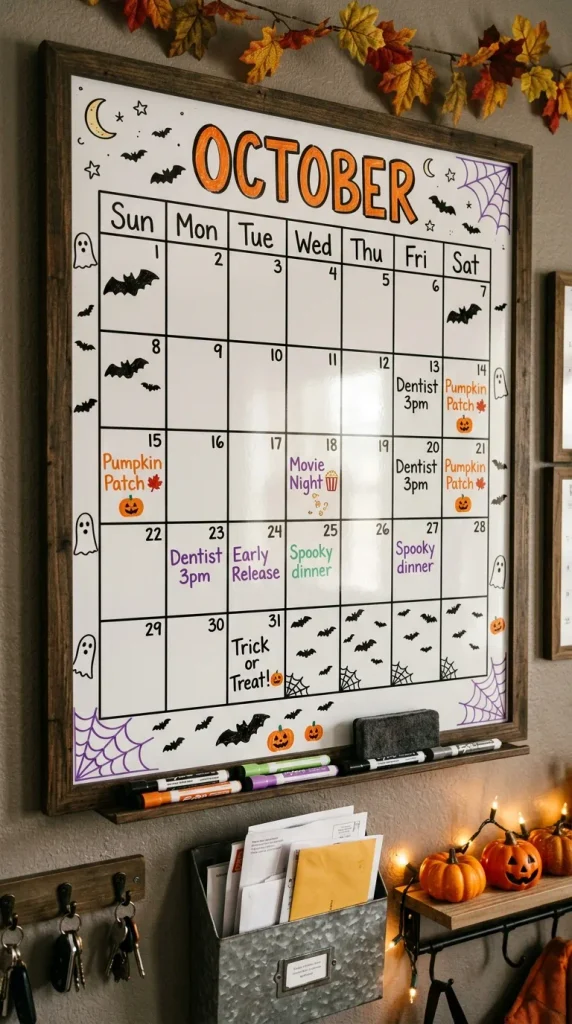
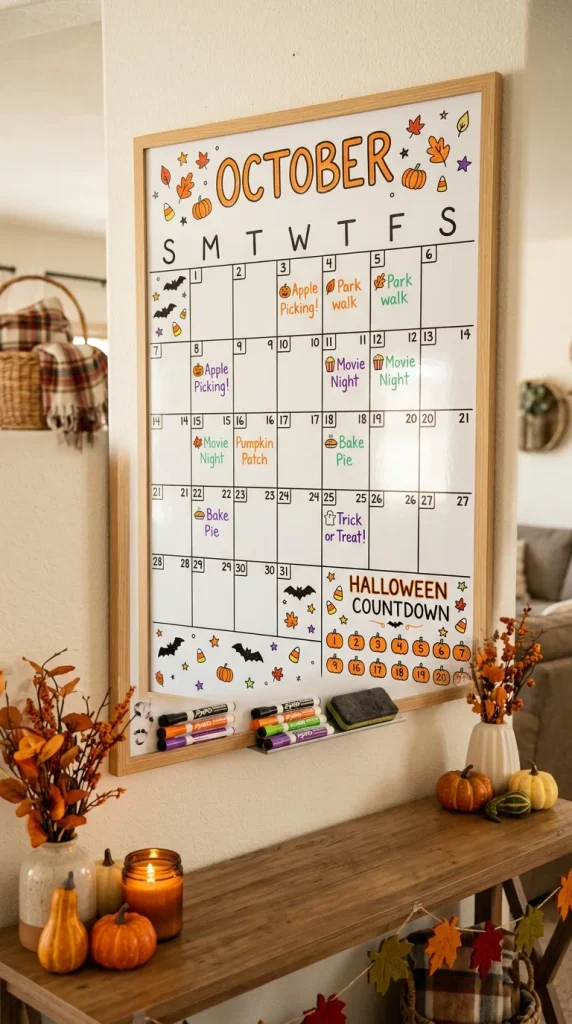
A Halloween-themed October calendar is perfect for tracking costume preparations, trick-or-treat plans, parties, and spooky movie nights. Create a bold design using black, purple, orange, and white dry erase markers.
Write “October” in large decorative lettering at the top and surround the title with simple drawings of bats, ghosts, spiderwebs, or crescent moons. Keep the main calendar grid easy to read by using a single dark color for the lines and reserving brighter colors for important dates.
You can mark Halloween on October 31 with a large orange circle or a small ghost illustration. Other activities, such as pumpkin carving and Halloween crafts, can be highlighted in purple or green.
For a more interactive design, create a small Halloween countdown section beside the calendar. Each day, erase the previous number and write the number of days remaining until Halloween.
Materials needed: Dry erase board, black, orange, purple, and white markers, ruler, and microfiber cloth.
DIY tip: Use a limited number of colors and keep decorative drawings outside the main grid to maintain readability.
4. Autumn Leaves October Calendar
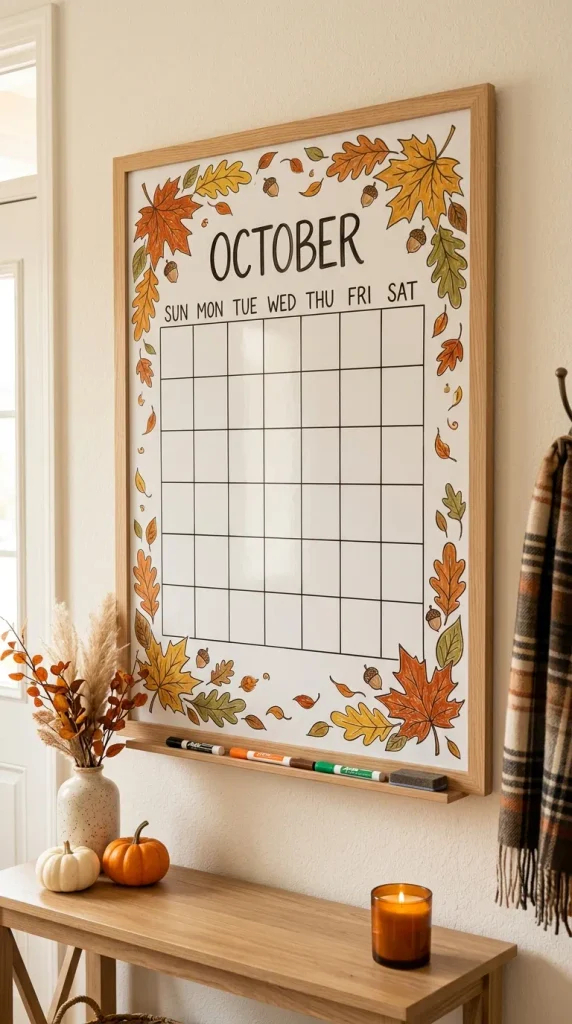
An autumn leaves calendar brings a natural, cozy look to your October planning routine. This design uses warm shades such as burnt orange, mustard yellow, rust, brown, and olive green to reflect the colors associated with fall.
Create a simple monthly grid and decorate the outside border with small leaf illustrations. You can draw maple leaves, oak leaves, or simple leaf outlines using colored markers. If you prefer a cleaner look, add just a few leaves in the corners and use a warm brown marker for the calendar headings.
Use different colors to organize your schedule. For example, orange can represent family activities, green can represent work or school deadlines, and brown can represent household tasks. This makes the calendar visually attractive while helping you recognize different commitments quickly.
The autumn leaves theme works particularly well in kitchens, home offices, and entryways with natural wood furniture or neutral decor.
DIY tip: Keep the leaf illustrations small and consistent. A few carefully placed details can look more elegant than a crowded border.
5. Family October Dry Erase Calendar
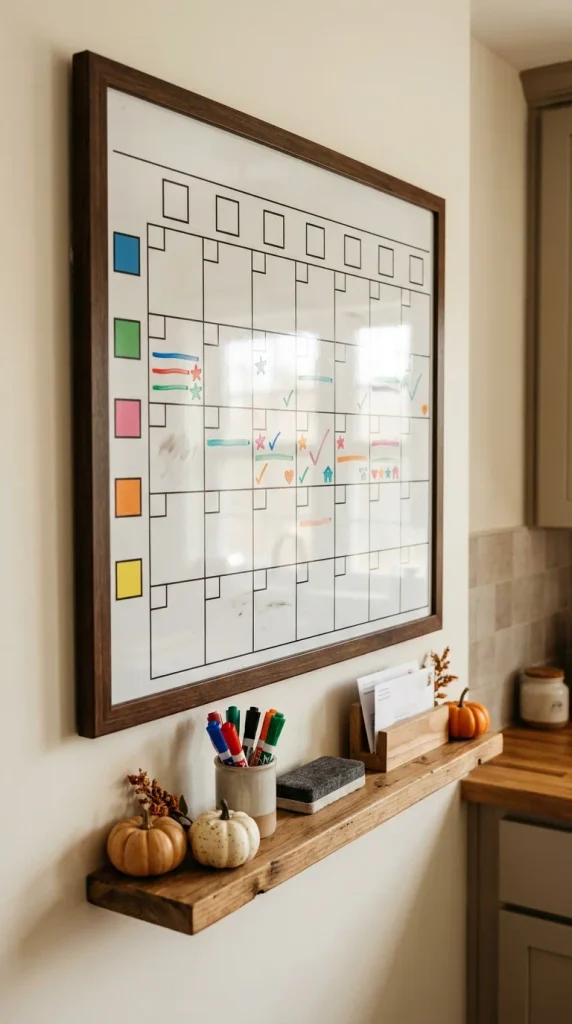
A family dry erase calendar helps everyone keep track of school events, appointments, extracurricular activities, chores, and weekend plans. Instead of creating a decorative calendar that is difficult to use, focus on a practical layout with clearly labeled spaces.
Divide the board into a monthly grid and assign each family member a different marker color. You can also create a small key beside the calendar to show which color belongs to each person. Write important events directly in the appropriate date square and use short notes to keep the information readable.
Add a small section underneath the calendar for reminders, grocery items, or upcoming family activities. This extra space is useful for tasks that don’t belong to a specific date.
For a seasonal touch, add a few tiny pumpkin or leaf drawings in the corners without taking away from the calendar’s functionality.
Materials needed: Large dry erase board, assorted colored markers, ruler, microfiber cloth, and optional magnetic accessories.
DIY tip: Establish a simple color-coding system that everyone understands. Keep marker colors consistent throughout the month.
6. October Goal-Setting Calendar
Use your October dry erase calendar to focus on personal goals, healthy routines, work projects, or creative habits. This design combines monthly planning with simple goal tracking, making it useful for anyone who wants to stay motivated.
Create the standard monthly grid on one side of the board. On the other side, add a small goal section with three or four priorities for the month. These might include reading regularly, exercising, finishing a project, organizing a room, or spending more time on a hobby.
You can use small circles or checkboxes to track daily habits. Each time you complete a task, mark the relevant space with a dry erase marker. At the end of the week, review your progress and adjust your goals if necessary.
For a polished appearance, use a neutral color for the main grid and one brighter color for goals and milestones. A small motivational phrase above the calendar can make the design feel personal without adding unnecessary clutter.
Materials needed: Dry erase board, black marker, one or two accent markers, ruler, and microfiber cloth.
DIY tip: Choose realistic goals that can be measured. A simple calendar you use consistently is more helpful than a complicated tracker you rarely update.
7. Cute Pink and Orange October Calendar
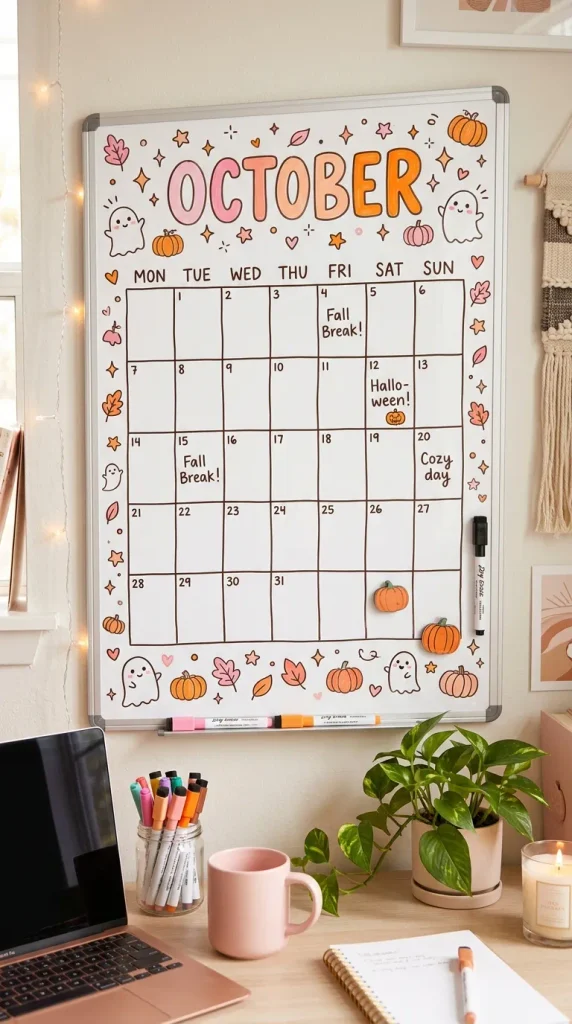
If you enjoy colorful stationery and playful organization, a pink and orange October calendar can make planning feel more enjoyable. Combine soft pink, peach, bright orange, and white to create a cheerful design with a subtle Halloween-inspired palette.
Use pink for the days of the week, orange for important dates, and a darker marker for the calendar grid. Add tiny hearts, stars, pumpkins, or smiling ghosts around the title to give the board a cute and personalized appearance.
You can also create small labels for categories such as school, work, birthdays, appointments, and social plans. Keep the labels consistent so that the design stays organized even when the calendar becomes busy.
This idea works well in bedrooms, craft rooms, dorm rooms, and home offices. It’s especially suitable for people who enjoy making their workspace reflect their personality.
Materials needed: Dry erase board, pink, peach, orange, and dark-colored markers, ruler, and microfiber cloth.
DIY tip: Check that your marker colors have enough contrast against the board. Pale shades can look pretty but may be difficult to read from a distance.
8. October Work and Study Calendar
An October work and study calendar is designed for productivity. It helps you track deadlines, exams, meetings, assignments, project milestones, and important appointments in one visible place.
Start with a spacious monthly grid that allows room for short notes. Use one color for deadlines, another for meetings, and a third for personal reminders. If you have many responsibilities, create a narrow sidebar for your weekly priorities or the most urgent tasks.
You can also use symbols to make the calendar easier to scan. A star can identify a major deadline, a small checkmark can represent a completed task, and an exclamation mark can highlight something that needs attention.
Avoid adding too many decorative elements, especially if you plan to write several items each day. A clean layout with a clear heading and a small October accent is often the most effective option.
Materials needed: Large dry erase board, black and colored markers, ruler, microfiber cloth, and optional magnetic notes.
DIY tip: Review your calendar at the beginning of each week. Move unfinished tasks to a new date rather than allowing them to disappear from view.
9. October Countdown and Activity Calendar
Turn your October calendar into an interactive countdown filled with seasonal activities. This idea is especially fun for families, children, or anyone who enjoys planning small daily experiences throughout the month.
Draw a monthly grid and add a separate activity section beside it. Write down ideas such as baking cookies, decorating pumpkins, watching a Halloween movie, making autumn crafts, visiting a local market, or enjoying a cozy evening at home.
You can assign one activity to selected dates or create a countdown to Halloween. Use small icons or colorful circles to identify special days. If plans change, simply erase and rewrite the activity without needing a new calendar.
To make the calendar more manageable, mix larger activities with simple ideas that require little preparation. Not every date needs a special event; some days can be reserved for rest, homework, or regular responsibilities.
DIY tip: Plan activities according to your available time and budget. A combination of simple and special events makes the month enjoyable without becoming stressful.
10. Rustic Farmhouse October Calendar
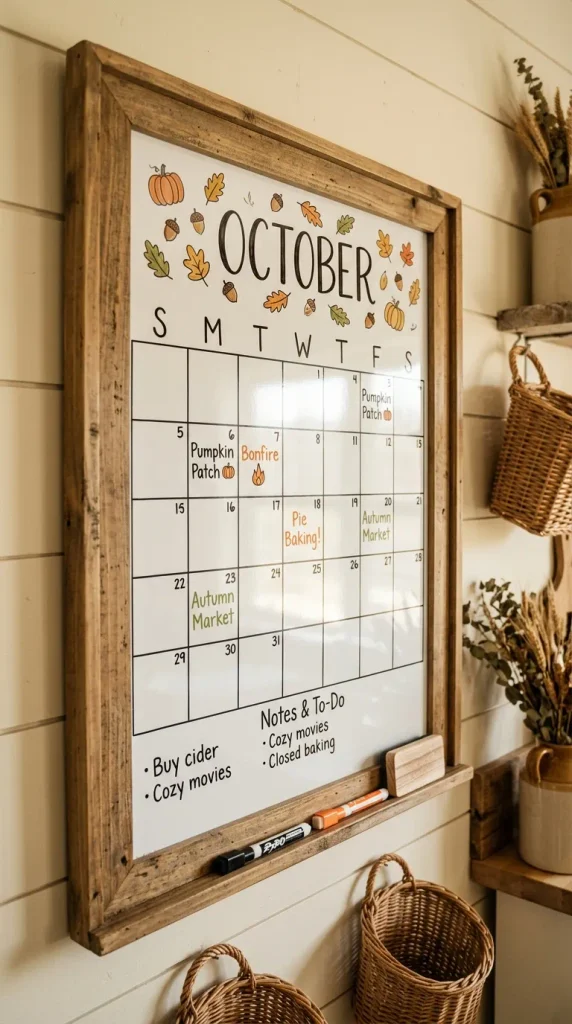
A rustic farmhouse October calendar combines practical planning with warm, understated seasonal decor. Although the calendar itself can be a standard dry erase board, you can style the surrounding area with natural wood, neutral accessories, and subtle autumn accents.
Choose a board with a simple wooden frame or place a plain whiteboard inside a suitable frame designed for that purpose. Use black or dark brown markers for the grid and add muted orange or olive green details around the title.
If you want to create a small planning station, place the calendar near a wall-mounted organizer, a container for dry erase markers, or a small shelf for everyday essentials. Keep decorative items outside the writing area so the calendar remains fully functional.
This design complements farmhouse, cottage, rustic, and neutral home decor styles. It can be placed in a kitchen, mudroom, home office, or family command center.
Materials needed: Dry erase board, wooden frame if desired, black and muted-color markers, ruler, and microfiber cloth.
DIY tip: Choose a frame that fits the board safely and allows the surface to be cleaned easily. Avoid permanent markers on the writing area.
Conclusion
These 10 October dry erase calendar ideas offer creative ways to organize your month while adding a seasonal touch to your space. Whether you prefer a minimalist layout, a pumpkin-themed design, a spooky Halloween calendar, or a practical family planner, the right setup can make everyday scheduling easier.
Start with a layout that matches your needs, choose a few marker colors, and add decorations that won’t interfere with writing space. Since dry erase calendars are reusable, you can experiment with different themes throughout October and update your plans whenever necessary.
With a little creativity and a simple DIY approach, your October calendar can become both a useful planning tool and an attractive part of your home or workspace.